Why Start with the Right Tools?
You don't need expensive needles or fancy yarn to learn. But picking the wrong size or material? That's frustrating. You'll struggle with tension, drop stitches constantly, and probably think you're doing something wrong when really it's just the equipment fighting you.
We're going to walk through what actually matters when you're starting out — needle sizes, materials, yarn weights, and the handful of stitches that make up basically every pattern you'll ever see.
Understanding Needle Sizes and Materials
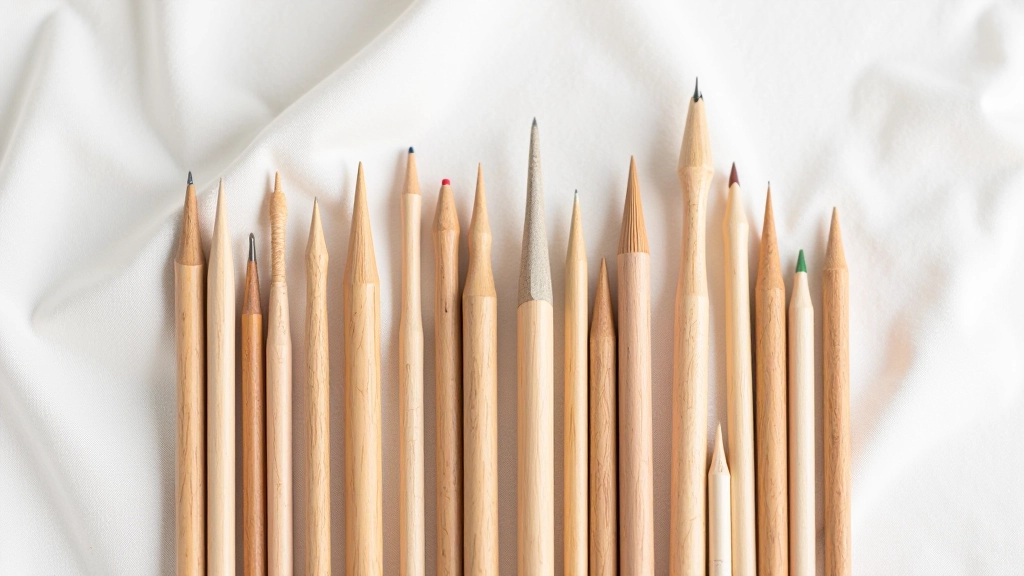
Knitting needles come in sizes from 0 (tiny, roughly 1.6mm) up to 50 (massive, about 25mm). Don't panic — you won't need most of them. For beginners, sizes 6 through 10 (US sizing) cover about 90% of beginner patterns. That's needles measuring roughly 4mm to 6mm in diameter.
The material matters more than people think. Bamboo needles grip yarn better, which helps if you're still figuring out tension. Metal needles are fast and smooth — great once you've got the rhythm down. Plastic needles? They're cheap but tend to bend and feel cheap, honestly.
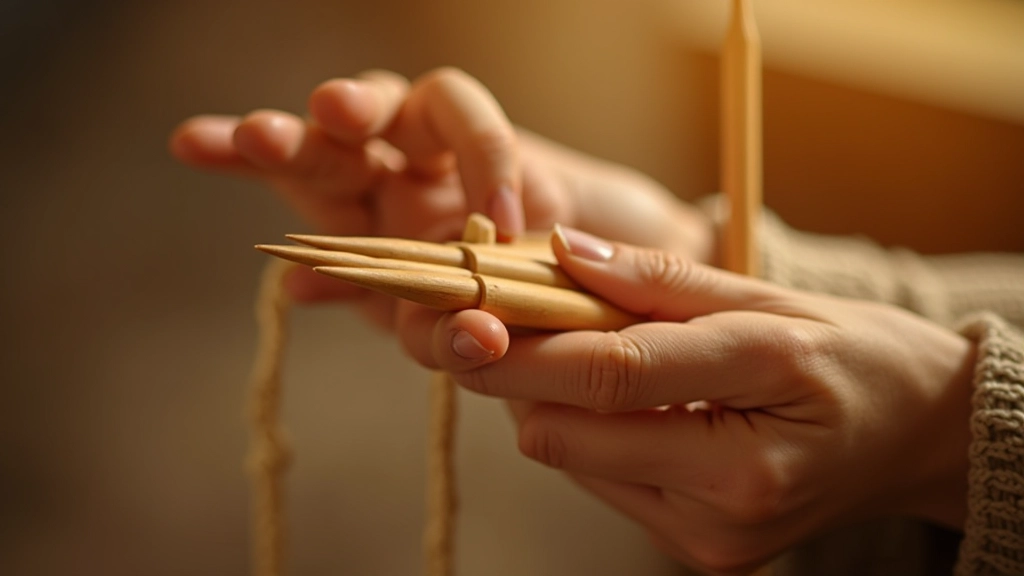
Pro tip: Start with bamboo in size 8 US (5mm). It's forgiving, affordable, and works with most beginner yarn weights.
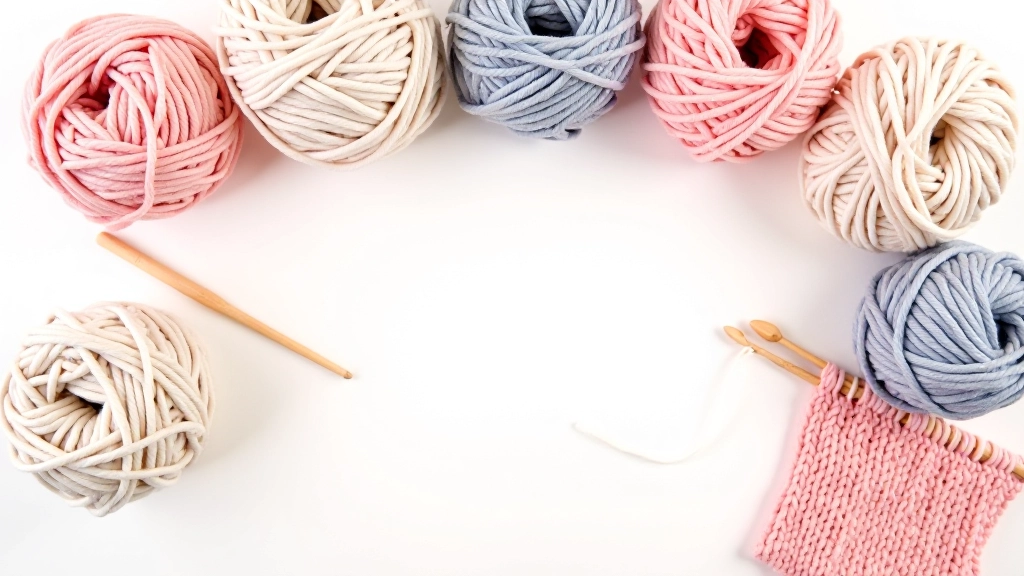
Yarn Weights and How They Match Your Needles
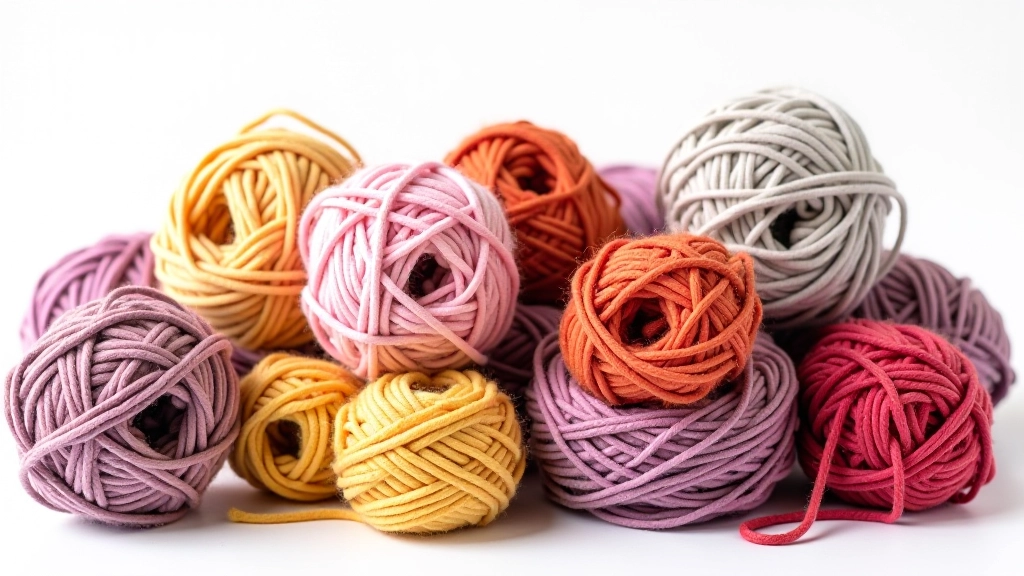
Yarn comes in different thicknesses — and the thickness dictates which needle size you'll use. A ball of yarn should have a label that says something like "Worsted Weight" or "DK" or "Fingering." That label also tells you the recommended needle size.
For beginners, worsted weight yarn (about 190-220 yards per 100 grams) is the sweet spot. It's thick enough that you can actually see your stitches, moves fast, and uses needles in that comfortable 6-8 US range. Thinner yarn like DK or sport weight moves slower and requires smaller needles — frustrating when you're learning. Bulky yarn is super fast but can feel awkward to handle at first.
Here's the thing: don't overthink it. Pick a worsted weight yarn you like the color of, grab a size 8 needle, and you'll be fine.
Note: This guide is for educational purposes. Needle sizes and yarn weights can vary slightly between manufacturers. Always check your yarn label for specific needle size recommendations before starting a project.
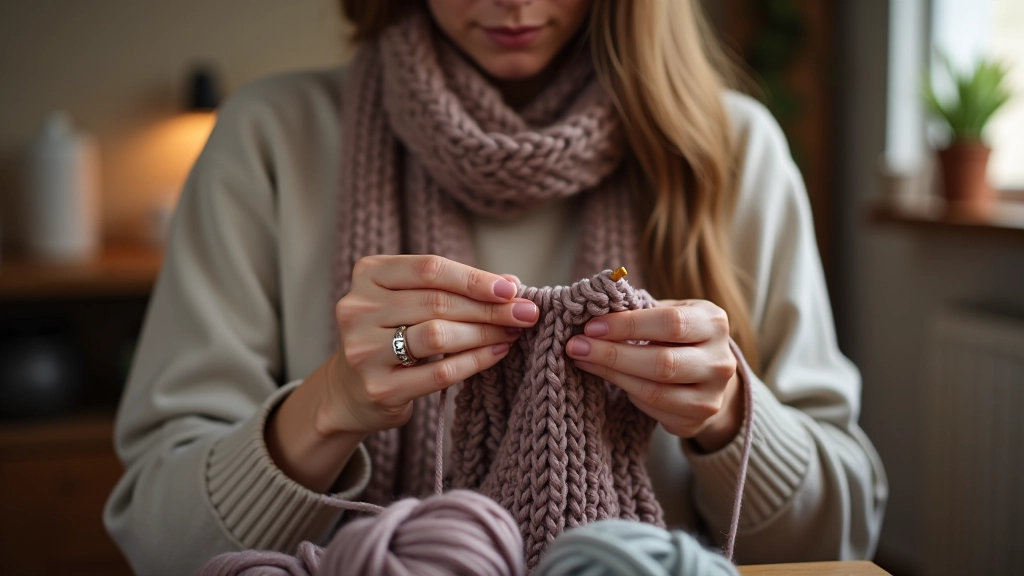
The Essential Stitches You'll Actually Use
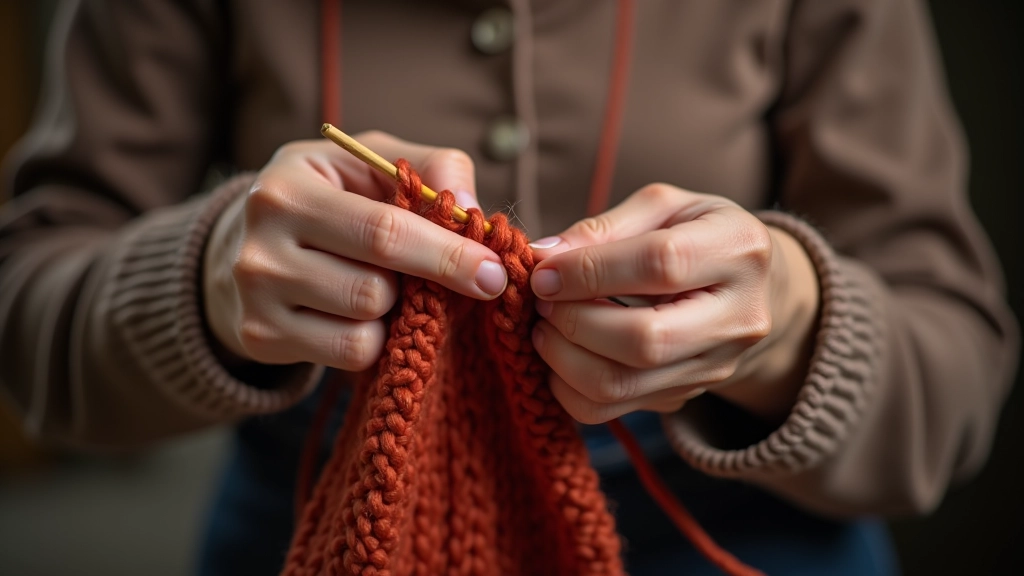
People get intimidated by stitch names. Purl, cable twist, moss stitch, garter stitch — sounds complicated. It's not. You're doing two things: knit and purl. Everything else is just combinations of those two.
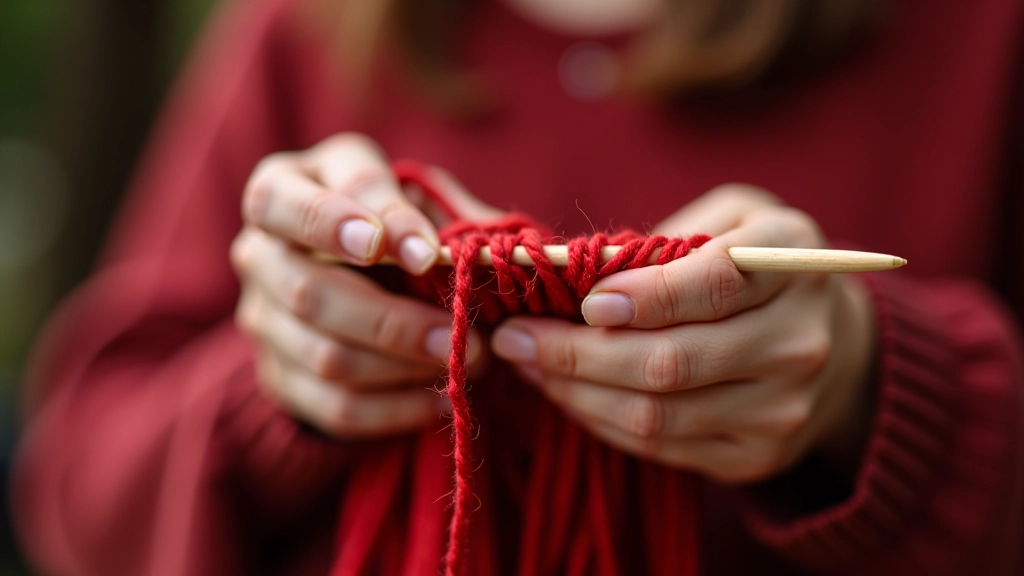
The knit stitch is straightforward: insert needle left to right through the loop, wrap yarn around, pull through. You'll do this thousands of times. The purl stitch is basically the knit stitch backward — insert right to left, wrap, pull through. Once you can do both without thinking, you can make almost any beginner project.
Cast on (getting stitches on your needle to start), knit, purl, and cast off (securing your final row). That's the foundation. Most patterns just vary how many rows of each you do.
Getting Your First Cast-On Right
The cast-on is where most beginners get stuck. There are about fifteen different cast-on methods. Ignore that. Use the long-tail cast-on. It's not the easiest, but it's reliable and looks professional, and once you learn it you don't have to learn another one for a while.
Practice this a few times on scrap yarn before starting a real project. Your tension will be off at first — everyone's is. You'll make stitches too tight or too loose. That's completely normal. After about 20 rows you'll find your rhythm.
One reality check: your first project probably won't look perfect. You might have holes, loose stitches, or uneven edges. That's how everyone starts. The scarf you make in month two will look way better than month one.
Ready to Begin?
You don't need to understand everything about knitting before you start. You really just need needles, yarn, and willingness to watch yourself make mistakes. The learning happens by doing, not by reading guides.
Pick up size 8 bamboo needles, grab a ball of worsted weight yarn in a color you actually like, and start casting on. Your hands will figure it out. By week three you'll wonder why you thought this was complicated.
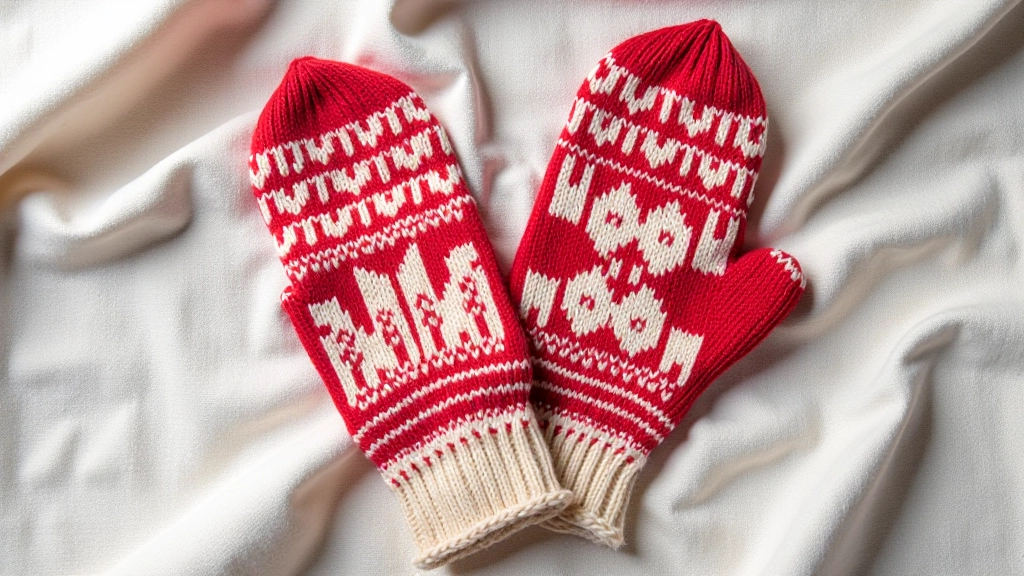
Want to explore more? Check out our other guides on Latvian mitten patterns and traditional rūkdarbi techniques. But for now, just start simple. A basic scarf teaches you everything you need.